Workshop 2: Critical Thinking in Game Development
Introduction to Unity Editor & C# Scripting
Game Development Skills
Core Competencies
- Learning - Continuous adaptation
- Critical Thinking - Design decisions
- Problem Solving - Debug & iterate
- Mathematics - Probability & functions
- Programming - Unity/C# mastery
- Creativity - Unique experiences

Layout Best Practices
Recommended “Tall” Layout Setup
- Window → Layouts → Tall
- Move Game View below Scene View
- Enable Console (Window → General → Console)
- Arrange for maximum workspace
Recommended “Tall” Layout
Unity Tall Layout
Today’s Demo: Bearcat Wheel of Fate 🎯
What We’ll Build
- Interactive spinning wheel game
- Introduction to C# scripting
- Basic Unity 2D setup
- Input handling with new Input System
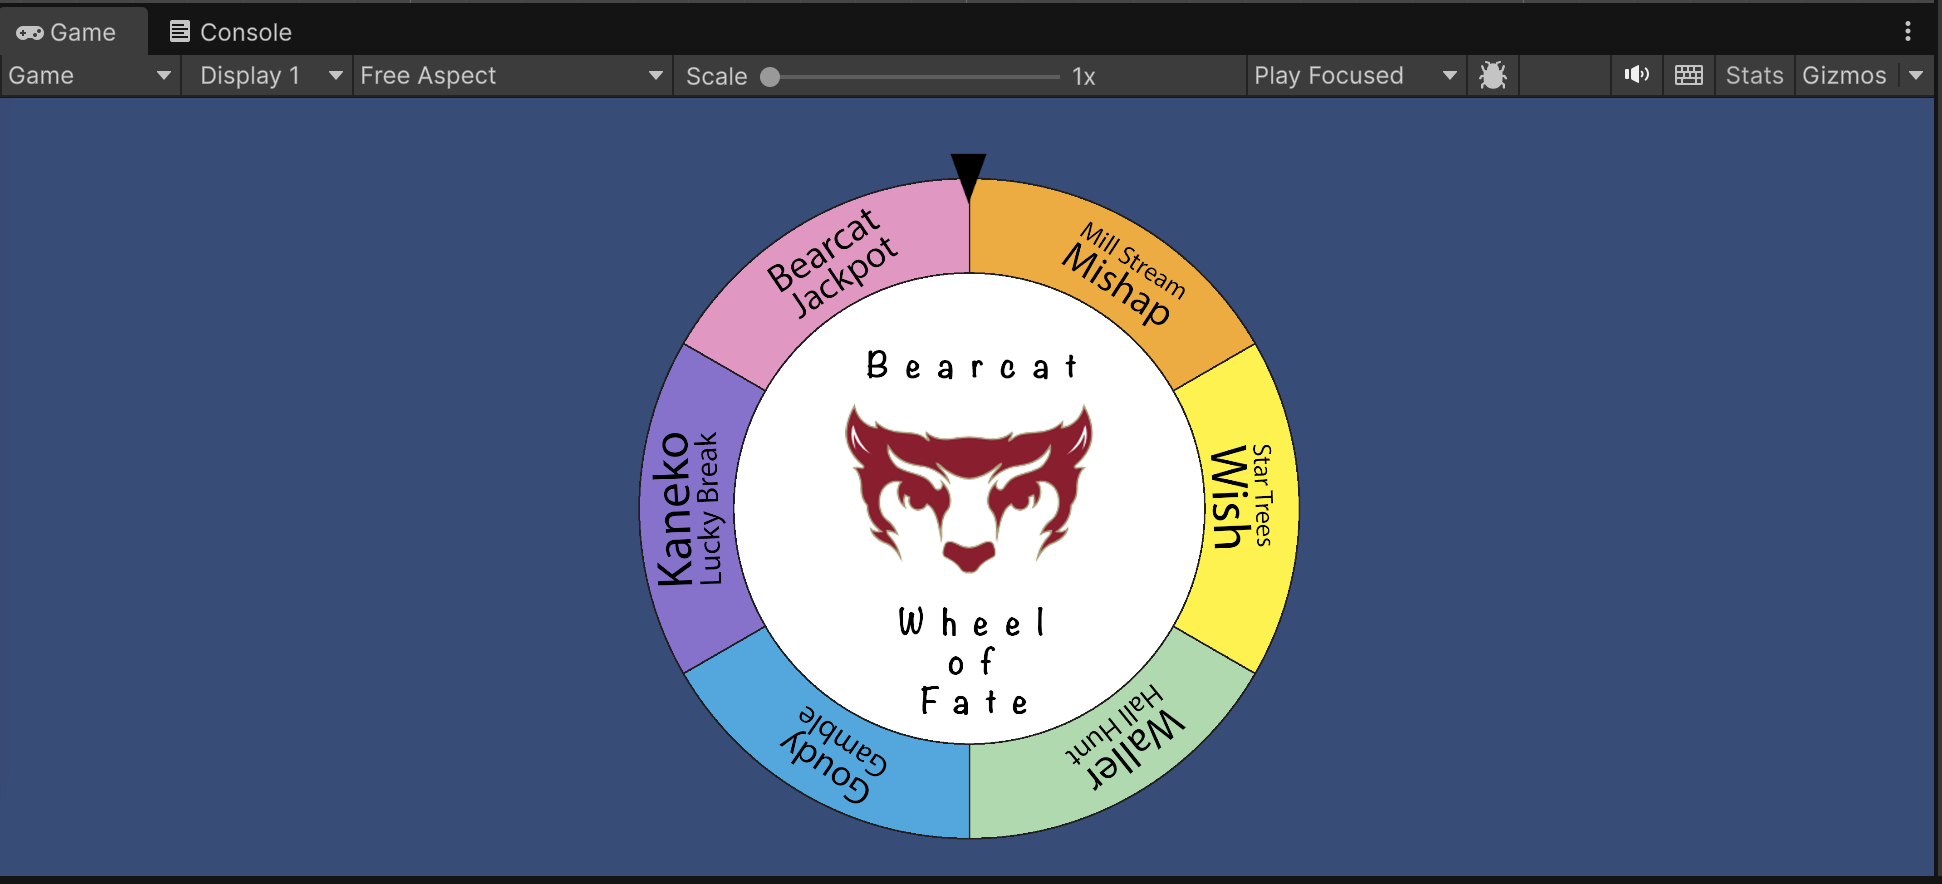
Bearcat Wheel of Fate
Scene Setup
Positioning GameObjects
- Wheel GameObject
- Position: (0, 0, 0)
- Scale as needed
- Marker GameObject
- Position above wheel
- Ensure proper sorting order
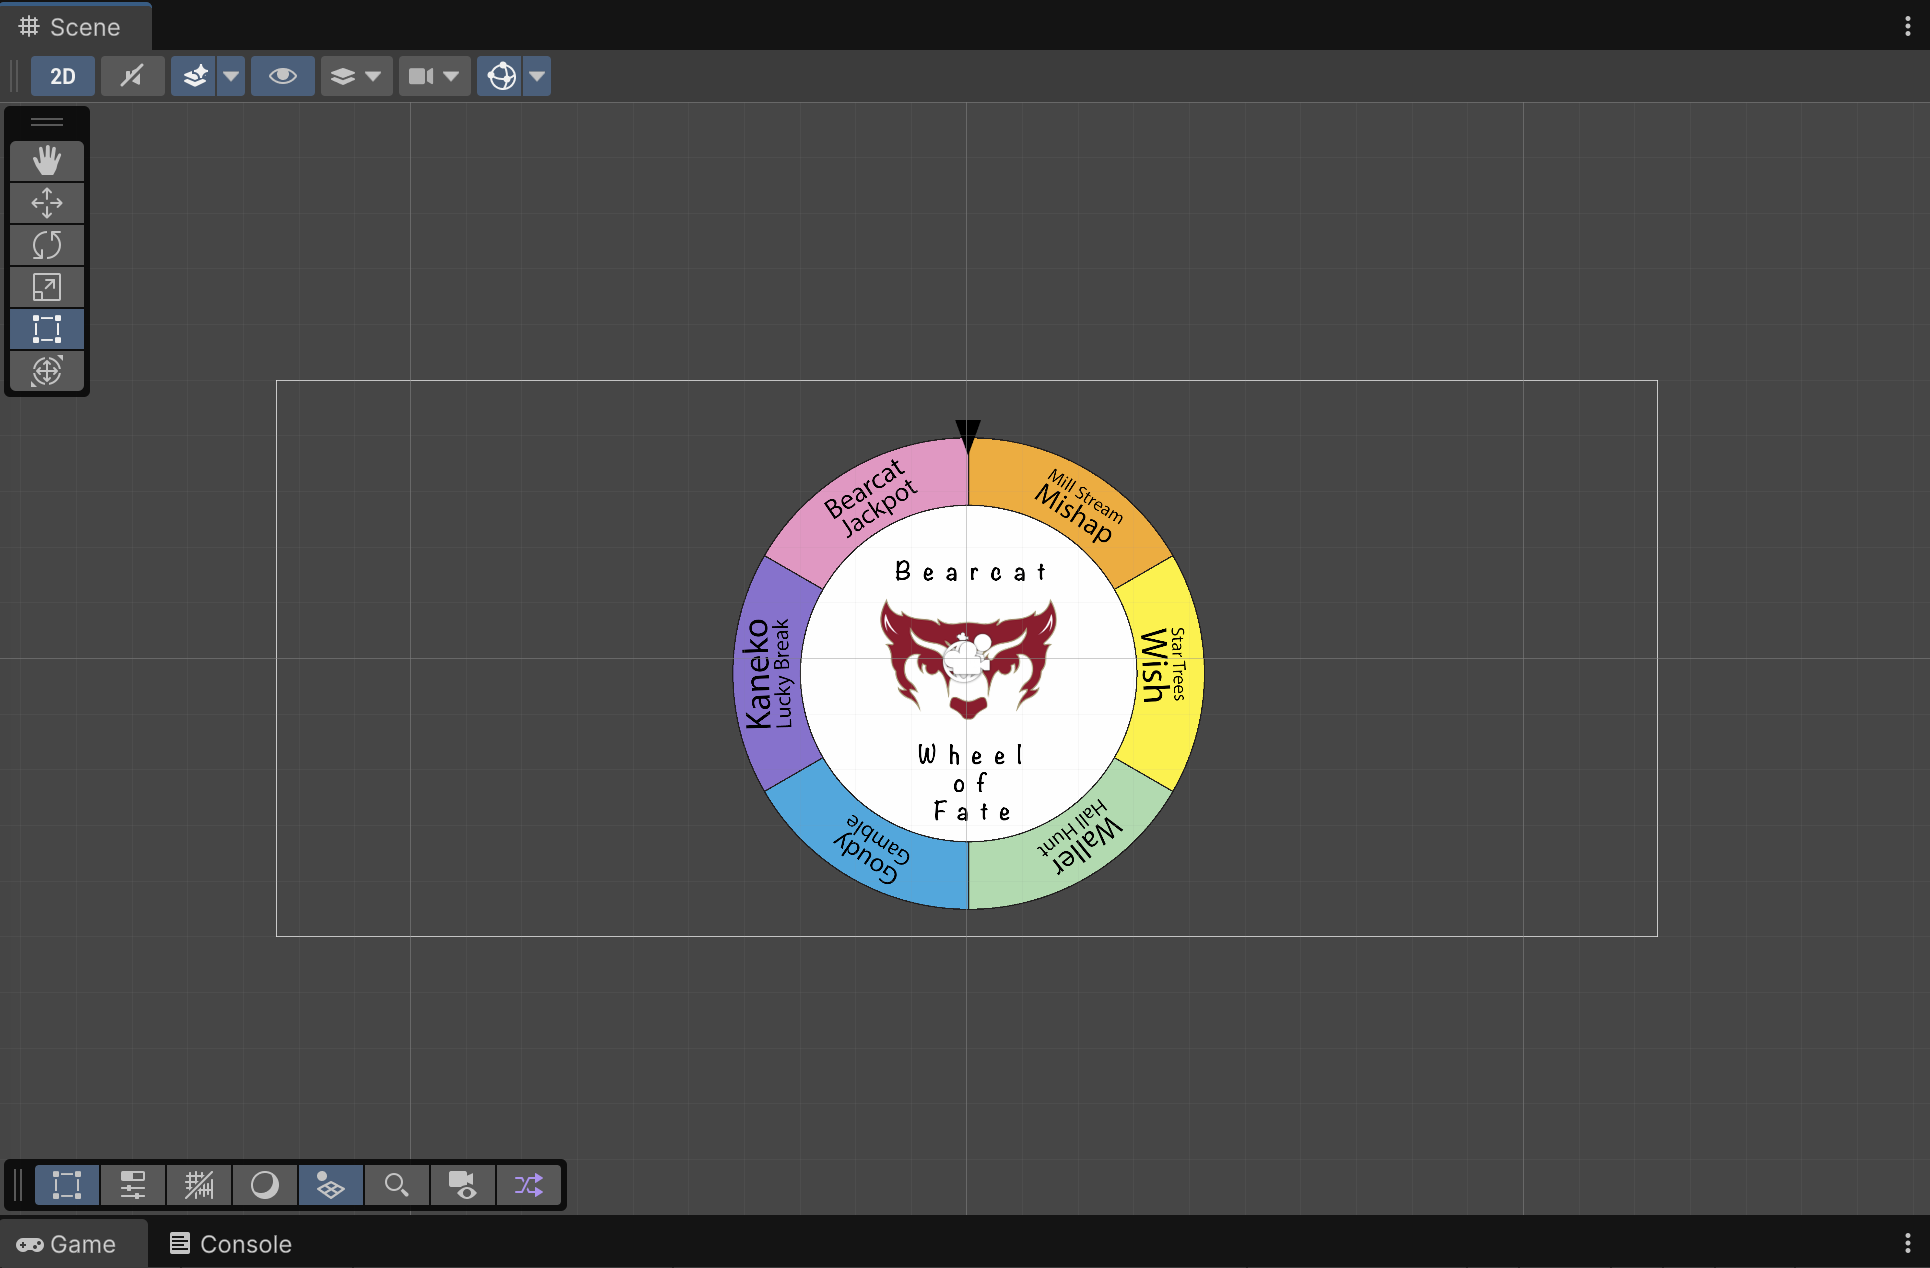
Scene Setup